Showing posts with label Challenges. Show all posts

Tuesday, December 13, 2016

Artsy Advent Calendar - Progress

We are just over half way through our Artsy Advent Calendar adventure.
There is some lovely work over on Instagram#ArtsyAdventCalendar.
Here is mine so far.


I am having so much fun creating this project.
For close up pictures check out my Instagram link in the side bar.
I hope you are able to take some time to enjoy this wonderful season.

Friday, December 2, 2016

ArtsyAdventCalendar - Day 1 - Watercolour

The countdown to Christmas has begun!
Andrea Gomoll from Creative Creations has designed a wonderful Advent Calendar containing 24 small daily sketches. She is also posting a daily video of her creations so we can play along and create our own ArtsyAdventCalendar. If you would like to play along with us just click the link in my side bar. 
For day one Andrea created a cute little whimsical elf which I love. I wanted to keep a Christian theme to my calendar so here is my day one sketch, keeping first things first.


I have used my Winsor & Newton Cotman Watercolour set. I have used Andrea's technique of colouring the image and then using a black fine tip marker to create a sketchy outline. I really love this look.


You can't really see it but my advent calendar consists of 24 different sized circles, randomly placed like Andrea's with smaller ones (baubles) in between.  

If you would like to check out Andrea's calendar click on the link in my side bar.

If you would like to check out my daily progress you can follow me on Instagram. The link is also in my side bar. 

I will also share my progress from time to time here on my blog.

Thanks for stopping by :)

Wednesday, November 23, 2016

Peace - Silk Ribbon Embroidery and Copics

"Peace I leave with you; my peace I give you. I do not give to you as the world gives. Do not let your hearts be troubled and do not be afraid." 
John 14:27

I haven't been able to put my Copics away quite yet. I made a card for my husband's cousin so I thought I would also enter it into the PaperArtsy Alcohol Inks and Pen Challenge.

I was inspired by the beautiful silk ribbon embroidery of craftyattic.com.


All the tutorials for these flowers can be found on the craftyattic.com website here.


I began by printing scripture in an oval. I made two to take advantage of the whole page. Using a marker I positioned my flowers and leaves around the oval. I then printed out my scripture again on X-Press It Blending Card after removing the oval border on my computer.


I transferred the flower dots of my design to the blending card using the Copic Multiliner Pen and Copic markers for the oval and leaves.


I coloured the leaves first using YG13 and YG17. I lightly coloured the background using B000 and the blender pen. I also ran B000 around the edge of the topper and card.


I pierced the dots making small holes using a paper piercer. This makes it easy to pass the needle through the card.


I coloured the flowers using my Copic markers by just lightly touching the silk ribbon and allowing the colour to bleed and spread. I learned this technique from craftyattic.com. I just used Copic markers instead of Promarkers and card instead of fabric.

The colours I chose are:
Yellow: Y32 and Y35.
Violet: V12 and V15.
Pink: RV11 and RV13
Blue: B00 and B02.

The little tendrils I drew with coloured pencils to keep the soft look of the card.
I have so enjoyed this challenge by PaperArtsy and discovering the versatility of alcohol markers.

Sunday, November 20, 2016

I Am The Vine - Copics

I have a confession to make. I invested in some Copic markers many years ago and until now I haven't really used them. I was inspired to take them out and have a bit of a play to participate in the challenge over on the PaperArtsy blog - Alcohol Ink and Markers. Darcy has a link to Kimberly Brown's YouTube Channel. She has some great tutorials using mostly Pro-markers that inspired me to take out my Copics and have a go. 
I have also been wanting to try Zentangle® Inspired Art (ZIA for short) after being inspired by Norma J Burnell's fabulous ZIA Fairies. You can check out her beautiful work on her blog Fairy Tangles. I based my girl on her tutorial in a book I picked up called "The Art of Zentangle®".


This book contains lessons from four Certified Zentangle® Teachers and takes you through a range of tangles step by step.
To learn more about Zentangle® you can visit the website here.


I began with a pencil sketch and transferred my design to X-Press It Blending Card using a Copic Multiliner pen. It is very important to use a pen which is Copic proof or it will bleed when the marker comes into contact with it. I also used the very tip of the chisel of my lightest skin tone coloured marker to avoid a harsh black line around the face and neck. I also lightly coloured the the irises and lips.


To choose my colours I used my colour wheel. I highly recommend it if you are a bit colour challenged like me. I knew I wanted to use Yellow/Green as it was my eye colour so my triad colour scheme included Red/Orange and Blue/Violet. A bit different for me.

If you are interested these are the colours I chose: 
Skintone: E000, E00, E51 and E01 for the subtle blush on the cheeks.
Red/Orange: E95, E97, E99.
Yellow/Green: YG93, YG95, YG97.
Blue/Violet: BV00, BV02, BV04 and BV0000 for the background.
Vine: E31, E35, E37.


This is my finished coloured image. I had to practice my blending a lot before I began, particularly the skin tone. A bit streaky but I'm sure I will improve with more practice.
I coloured the background in a very pale shade of Blue/Violet.


In her tutorial, Norma suggests using small dots with her graphite shading. I have also used it here over the Copic shading and I like the effect. I coloured some rhinestones with my markers for some added bling. I have added a hint of glitter gel pen around the flower to bring it forward.


I have used coloured pencil for eyeshadow, lip detail and to deepen the neck shading. White gel pen was used for the highlights.
Something I learned the hard way: do not take the lid off your marker over your art work or you too will enjoy splatters, I mean beauty spots, over your freshly coloured face. Lesson learned:)
I found this art work to be so relaxing and I enjoyed it so much I definitely will be doing some more colouring in the near future. 
Thank you PaperArtsy for providing this challenge.

Saturday, November 12, 2016

Wisdom

"The fear of the Lord is the beginning of wisdom"
Proverbs 9:10

I have heard it said that wisdom is knowledge rightly applied. However we can't apply knowledge we don't have. Having a reverential fear of the Lord leads us to spend time in the source of all knowledge, God's word to us, and gives us the foundation for the development of wisdom.
The benefits of wisdom are far beyond our imagination. Check it out in Proverbs for yourself.


I have used Gelatos and coloured pencils on water colour paper primed with gesso.


I love these verses found in Proverbs 8:22-31. 
I printed them onto tissue paper (with waterproof ink) and collaged them to the front of the dress. I also printed out various verses pertaining to wisdom and collaged them around the background. I love the way the tissue paper disappears into the background.


The title "wisdom" I stenciled across her hair line using a black gel pen through a letter stencil.
I also added some Whipped Spackle through a stencil in the backgound.

I am entering this art work into the PaperArtsy #21 Challenge - Typography, Fonts and Quotes. There are some wonderful examples of the various ways typography, fonts and quotes can be used in your art work. Check out the link for some great inspiration. 
I particularly liked this hand lettering by Valerie Sjodin, very inspirational.

Imagine if...

IMAGINE IF...
we chose obedience over desire.

I am entering this wall hanging into two challenges. 
The first one is over at The Mixed Media Monthly Challenge blog.


The challenge this month is to use the colour palette shown on the mood board.


I have used predominately Gelatos in these colours: Iced Chai, Chocolate, Earl Grey, Squid Ink, Watermelon, Green Tea and Pistachio. I have also used some flesh tones.


I have used Gelatos, coloured pencils, PaperArtsy Infusions The Sage (background tree foliage), gauze (tree trunk), fabric, lace, ribbon and fibres (hair). My base is a home made canvas.


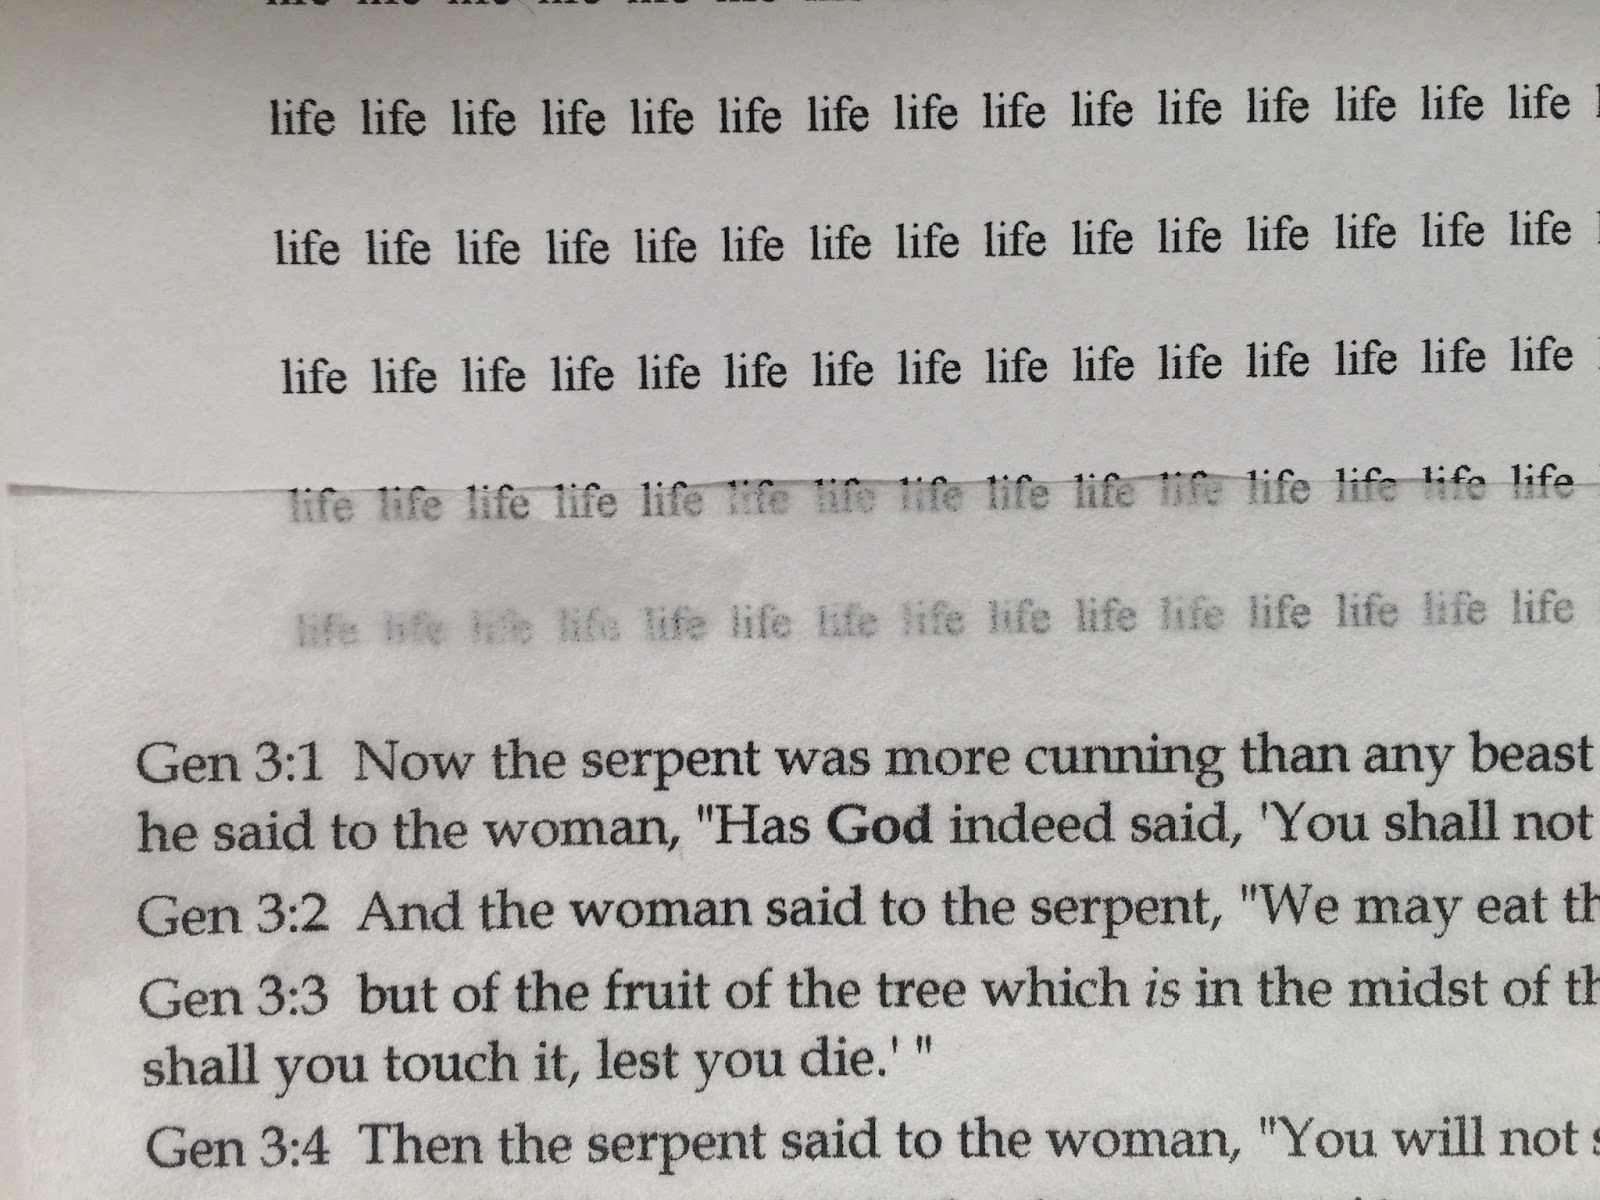
I printed Genesis chapter 3 onto tissue paper and collaged it to my background. No better foundation to build an art work on. I have also printed the words "life" and "knowledge of good and evil" in a small font on regular copy paper for the apples. (I have a water proof ink in my printer)


I have carved the words "Imagine if..." out of the tree trunk before colouring and backing it with another piece of canvas.


The forearm, branch and apples are added separately to add dimension.


The second part of the quote I have hand written using a black gel pen.


I have stenciled some leaves in the background.


The hair is very textured and dimensional.


Thank you for taking time to check out my art work, I hope you like it.